-------------------------
#1 Mend a bed sheet.
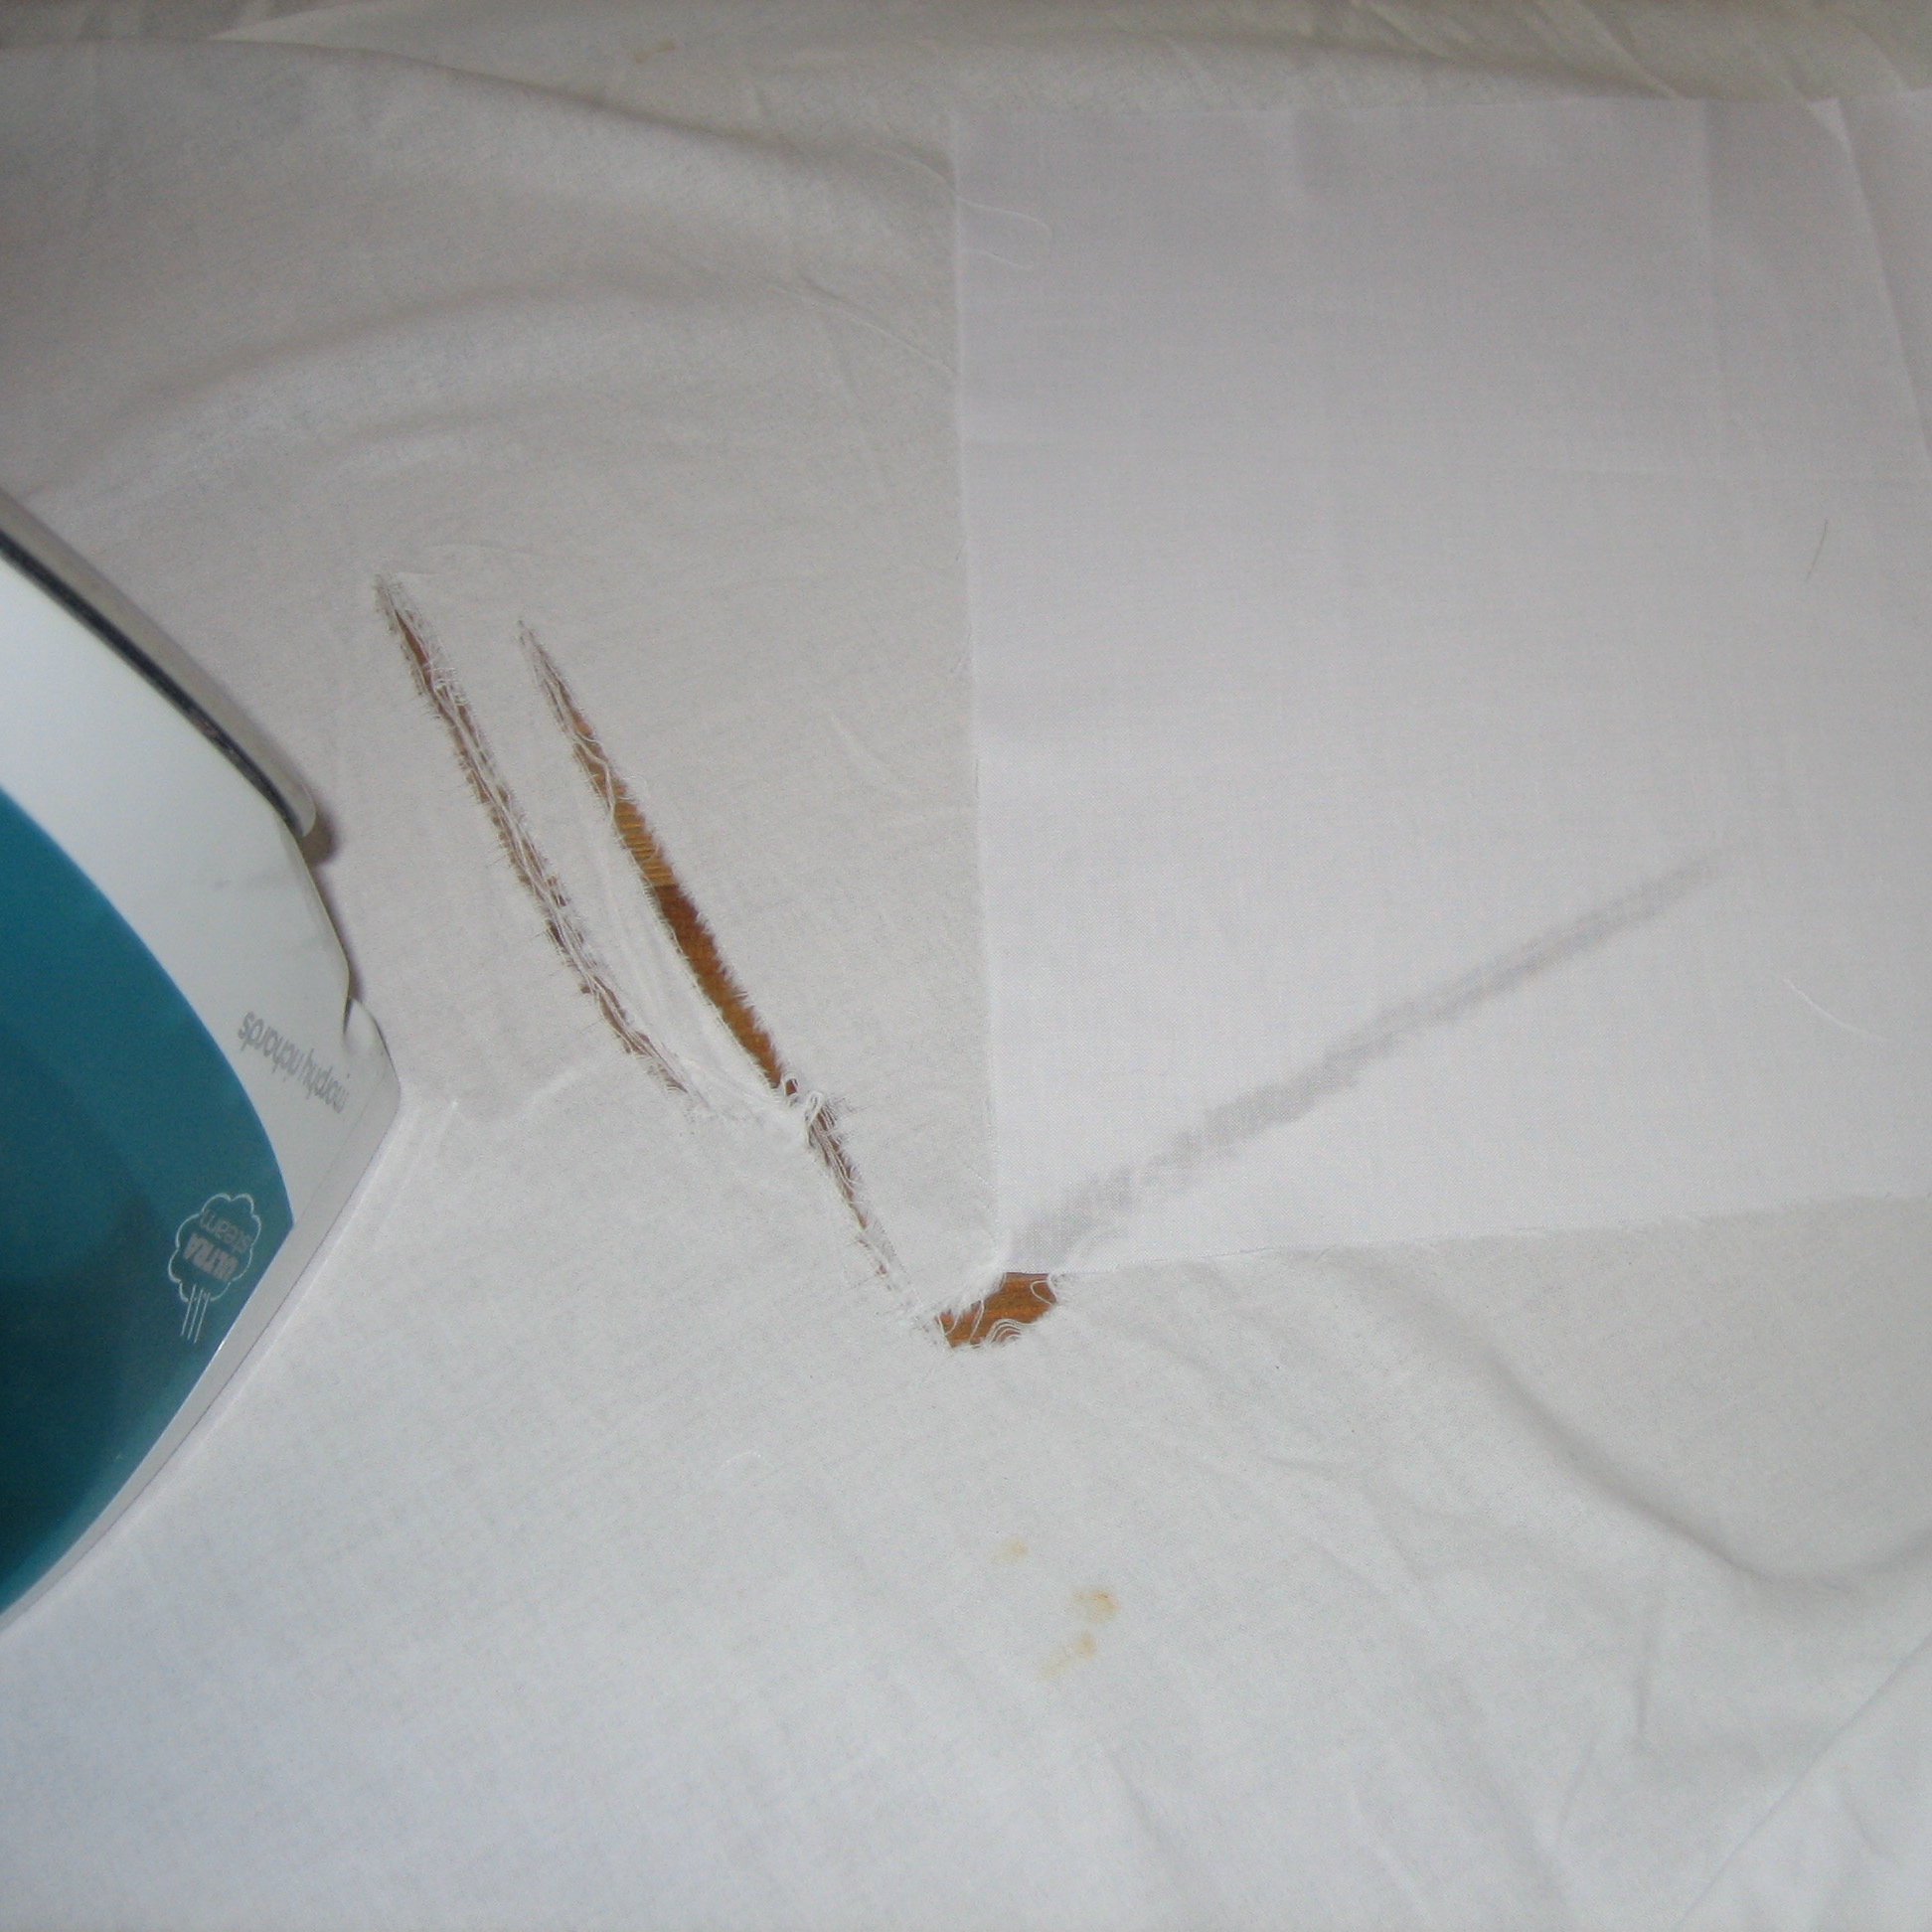
Don't get excited now, no rude jokes please... J decided to 'help' me strip (tee hee) the bed last week to put the sheets in the wash... and he ripped a huge whole in the middle of our old bed sheet.
We don't really want to spend money on new ones just now, we would rather wait till we have a new bedroom and we can invest in some really nice bedlinen... but perhaps you have a sheet that is somehow important to you, or you just don't see the point in wasting the sheet because of a mis-hap... so this tute is for you :D
These instructions will work just as well on duvet or pillow covers, or on curtains if needed... basically any large flat piece of cloth with a hole right in the middle.
----------------------
So here is the rip in the sheet... it measures approx 9 inches each way (J had to make this difficult didn't he :roll: )

1. Get your self in a good work space - My dining room table has been commandeered for some time for all the sewing and crafting I do, so I use that. You might find a table too small and you might be better on the floor for the first stages of the project.
2. So you need to start by finding your patch, I chose a square of white sheeting that I happened to have living in my hobby box. The colour may not be important to you, but try to pick a fabric the correct weight. Cut your patch to size, at least an inch bigger (in each direction) than the hole that you are covering.
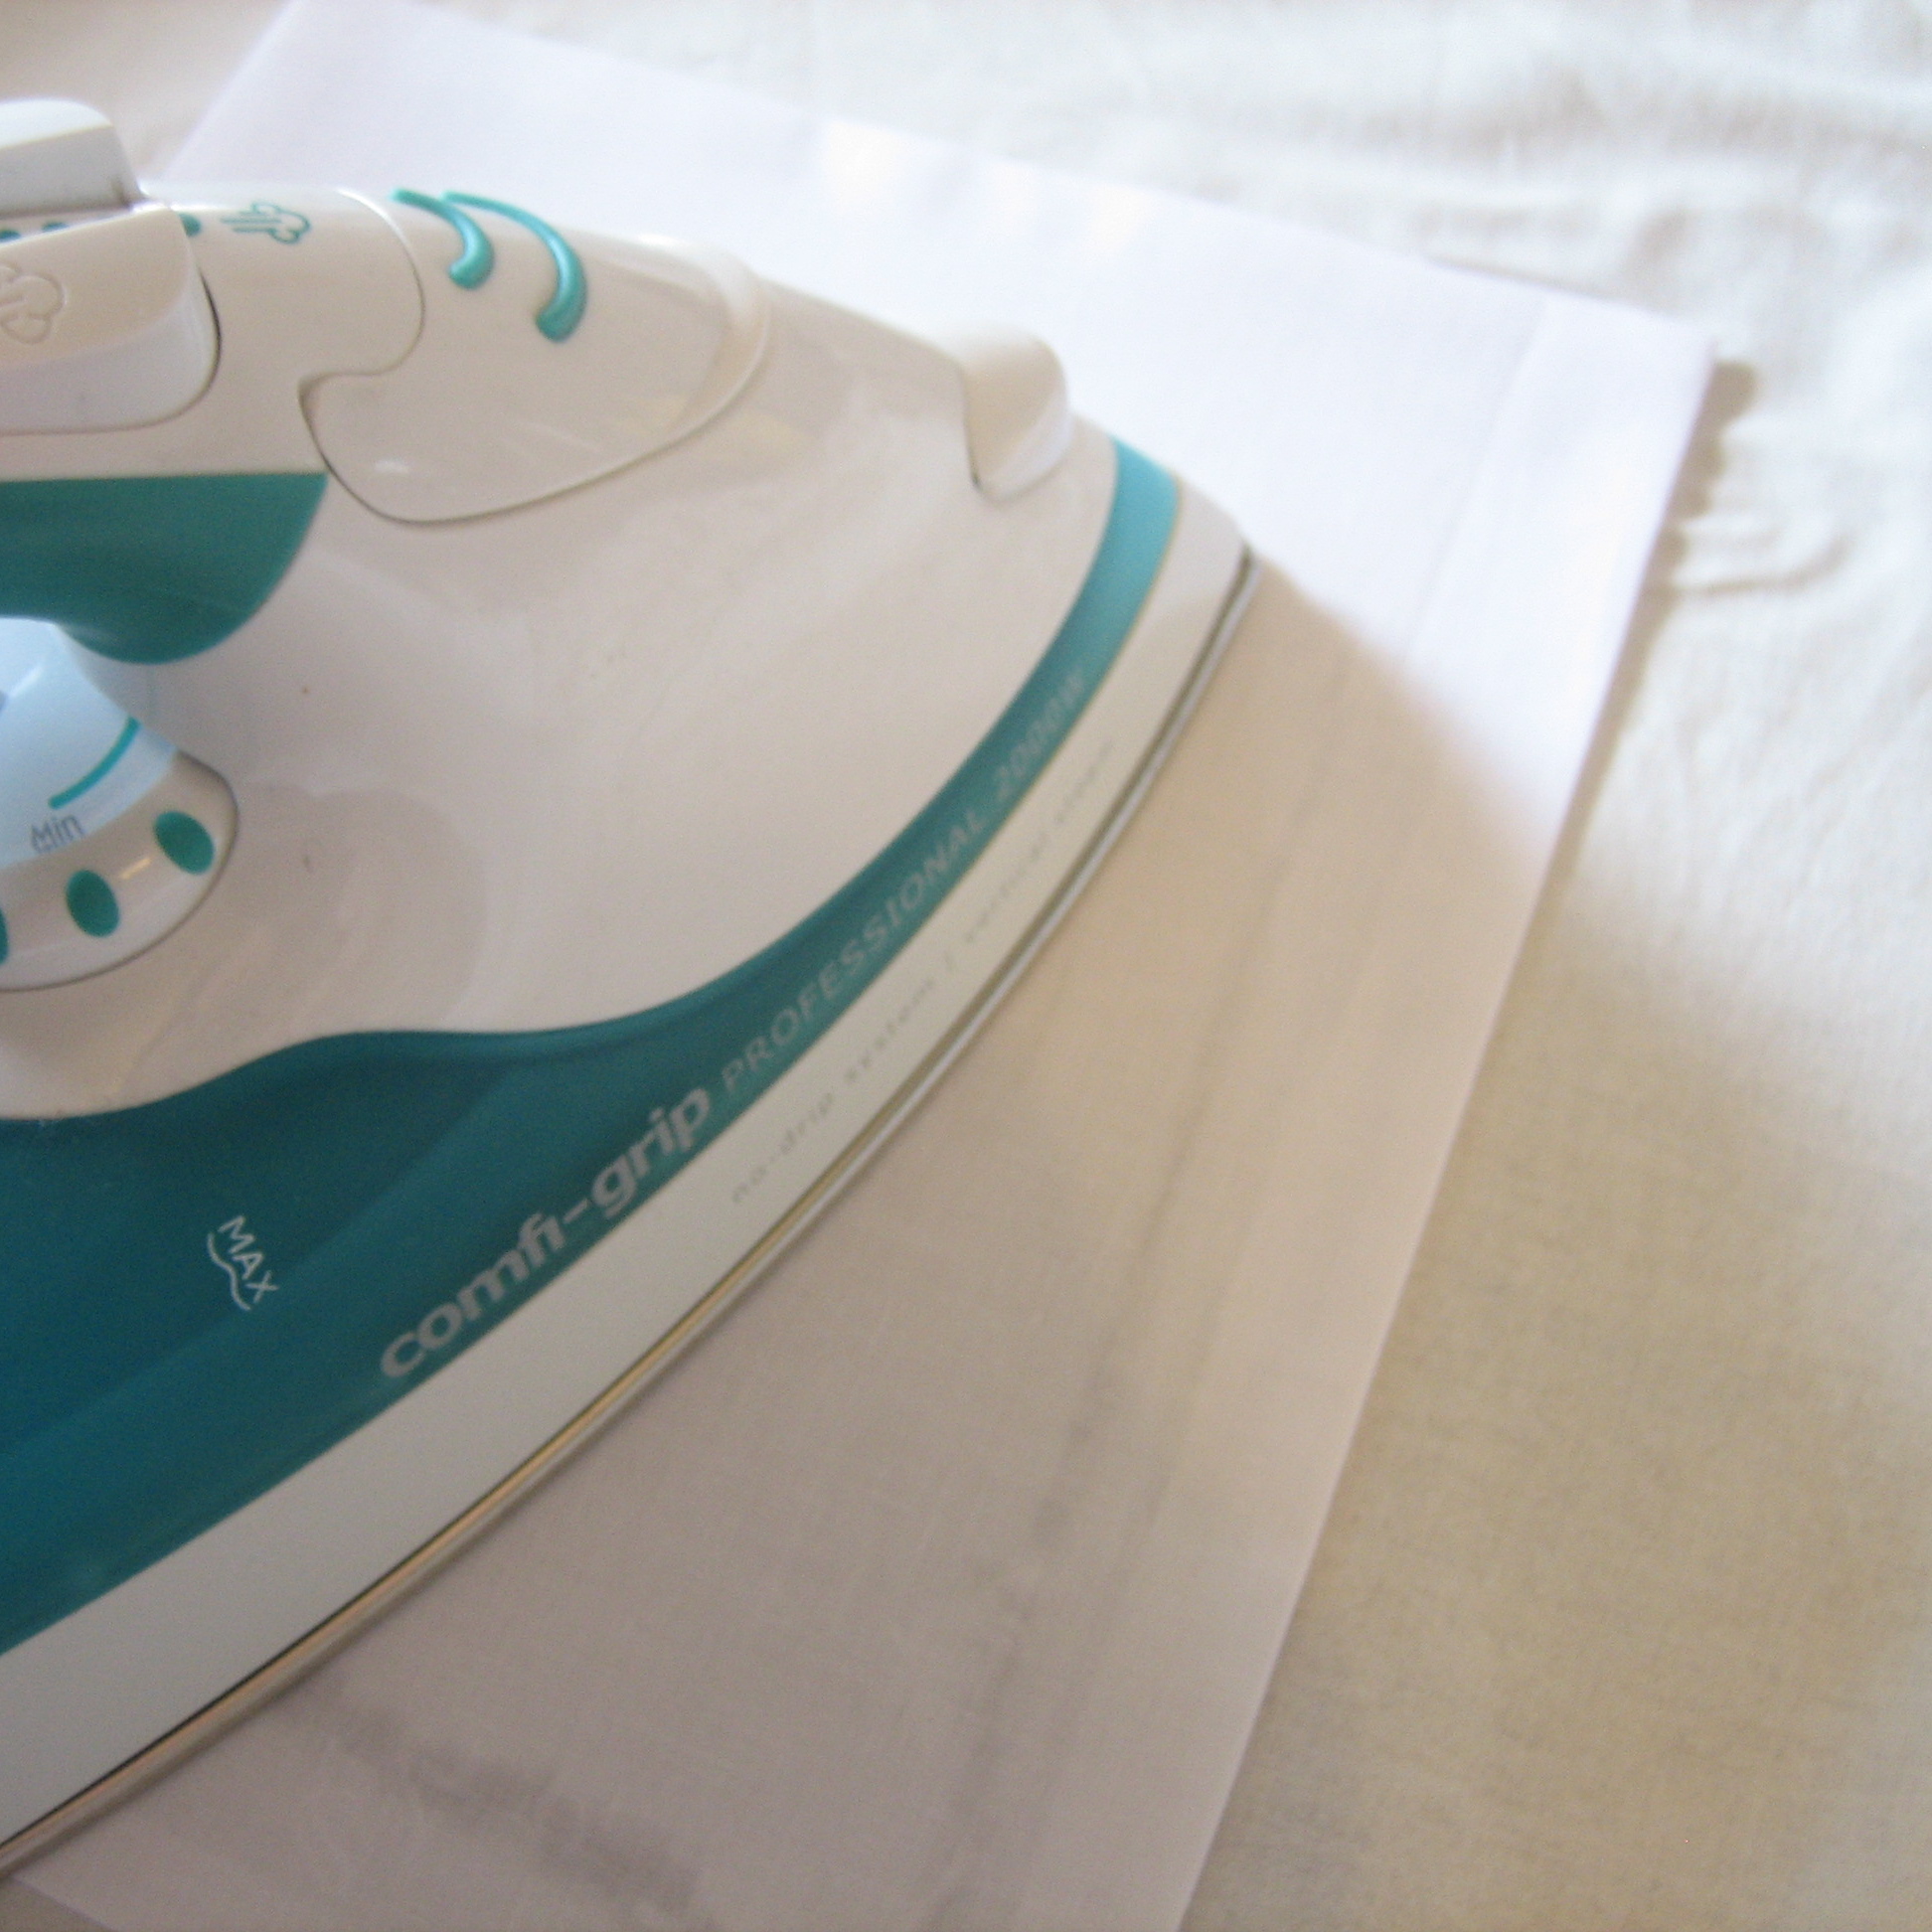
3. Next you need to iron your sheet and your patch. It is important to use an iron when doing any sewing work (I found that out the hard way) If your iron won't stretch to the area where you are working allow it to heat up then unplug it, it only takes a second to iron.
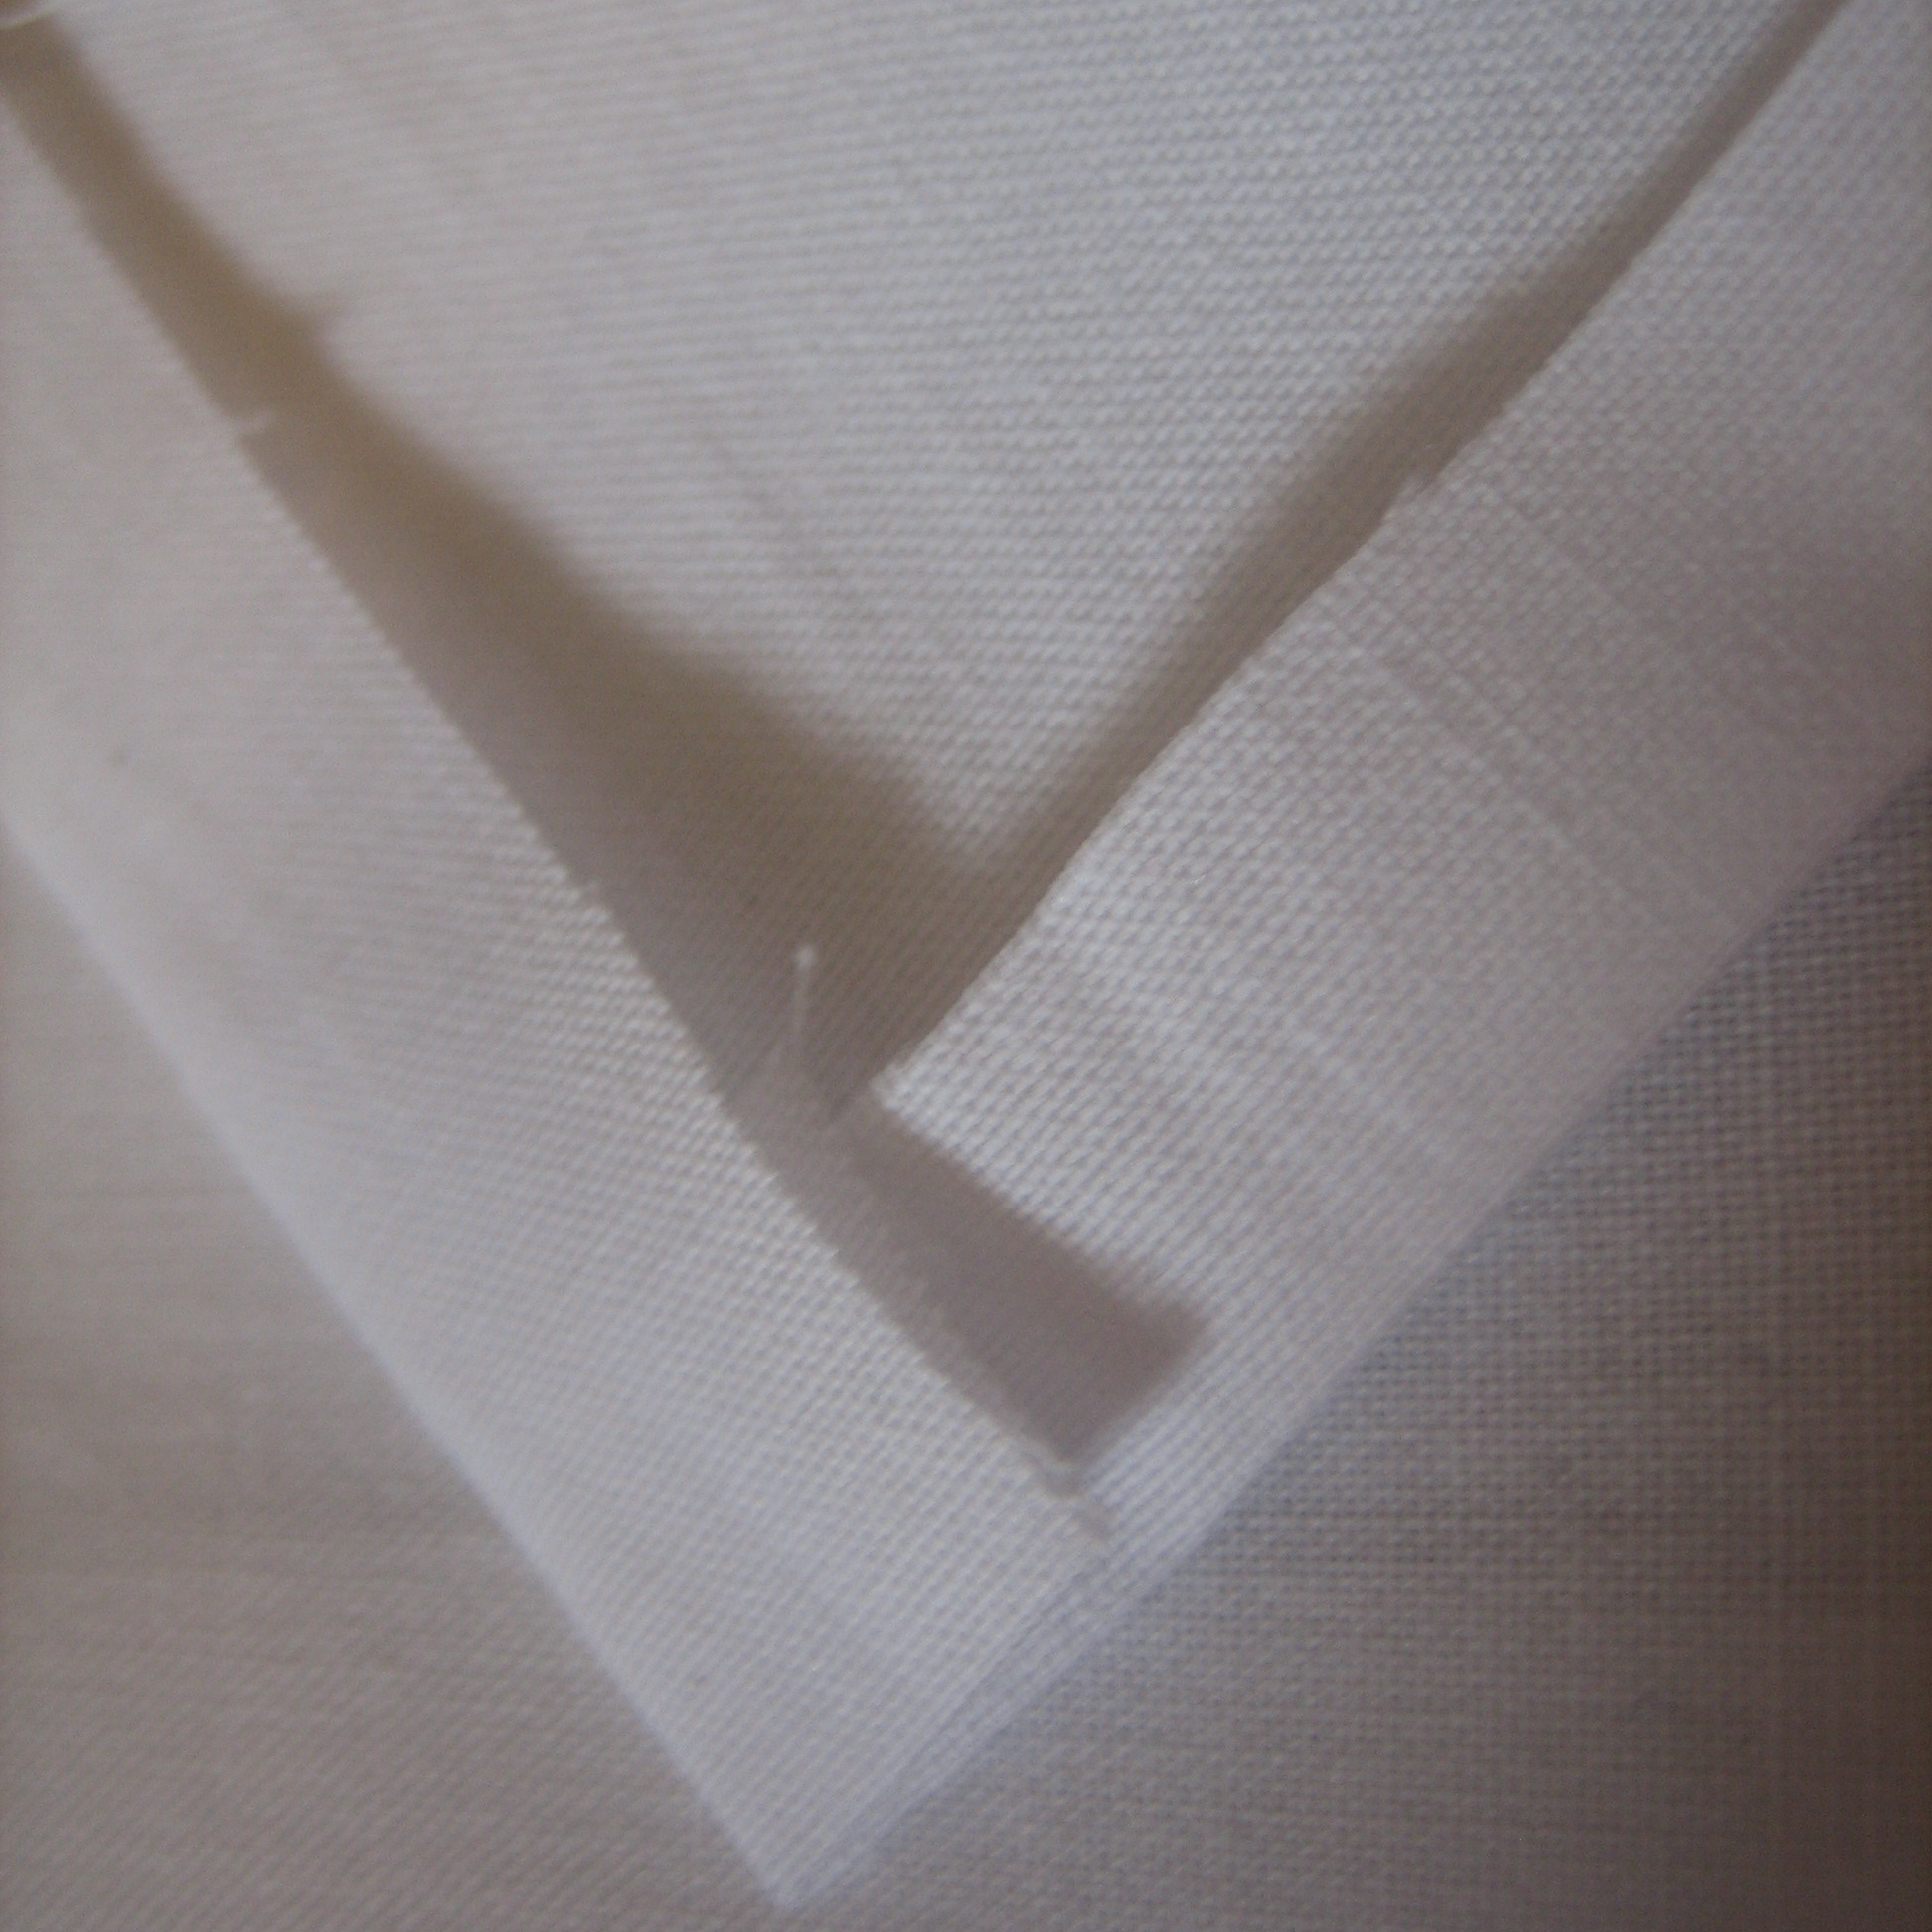
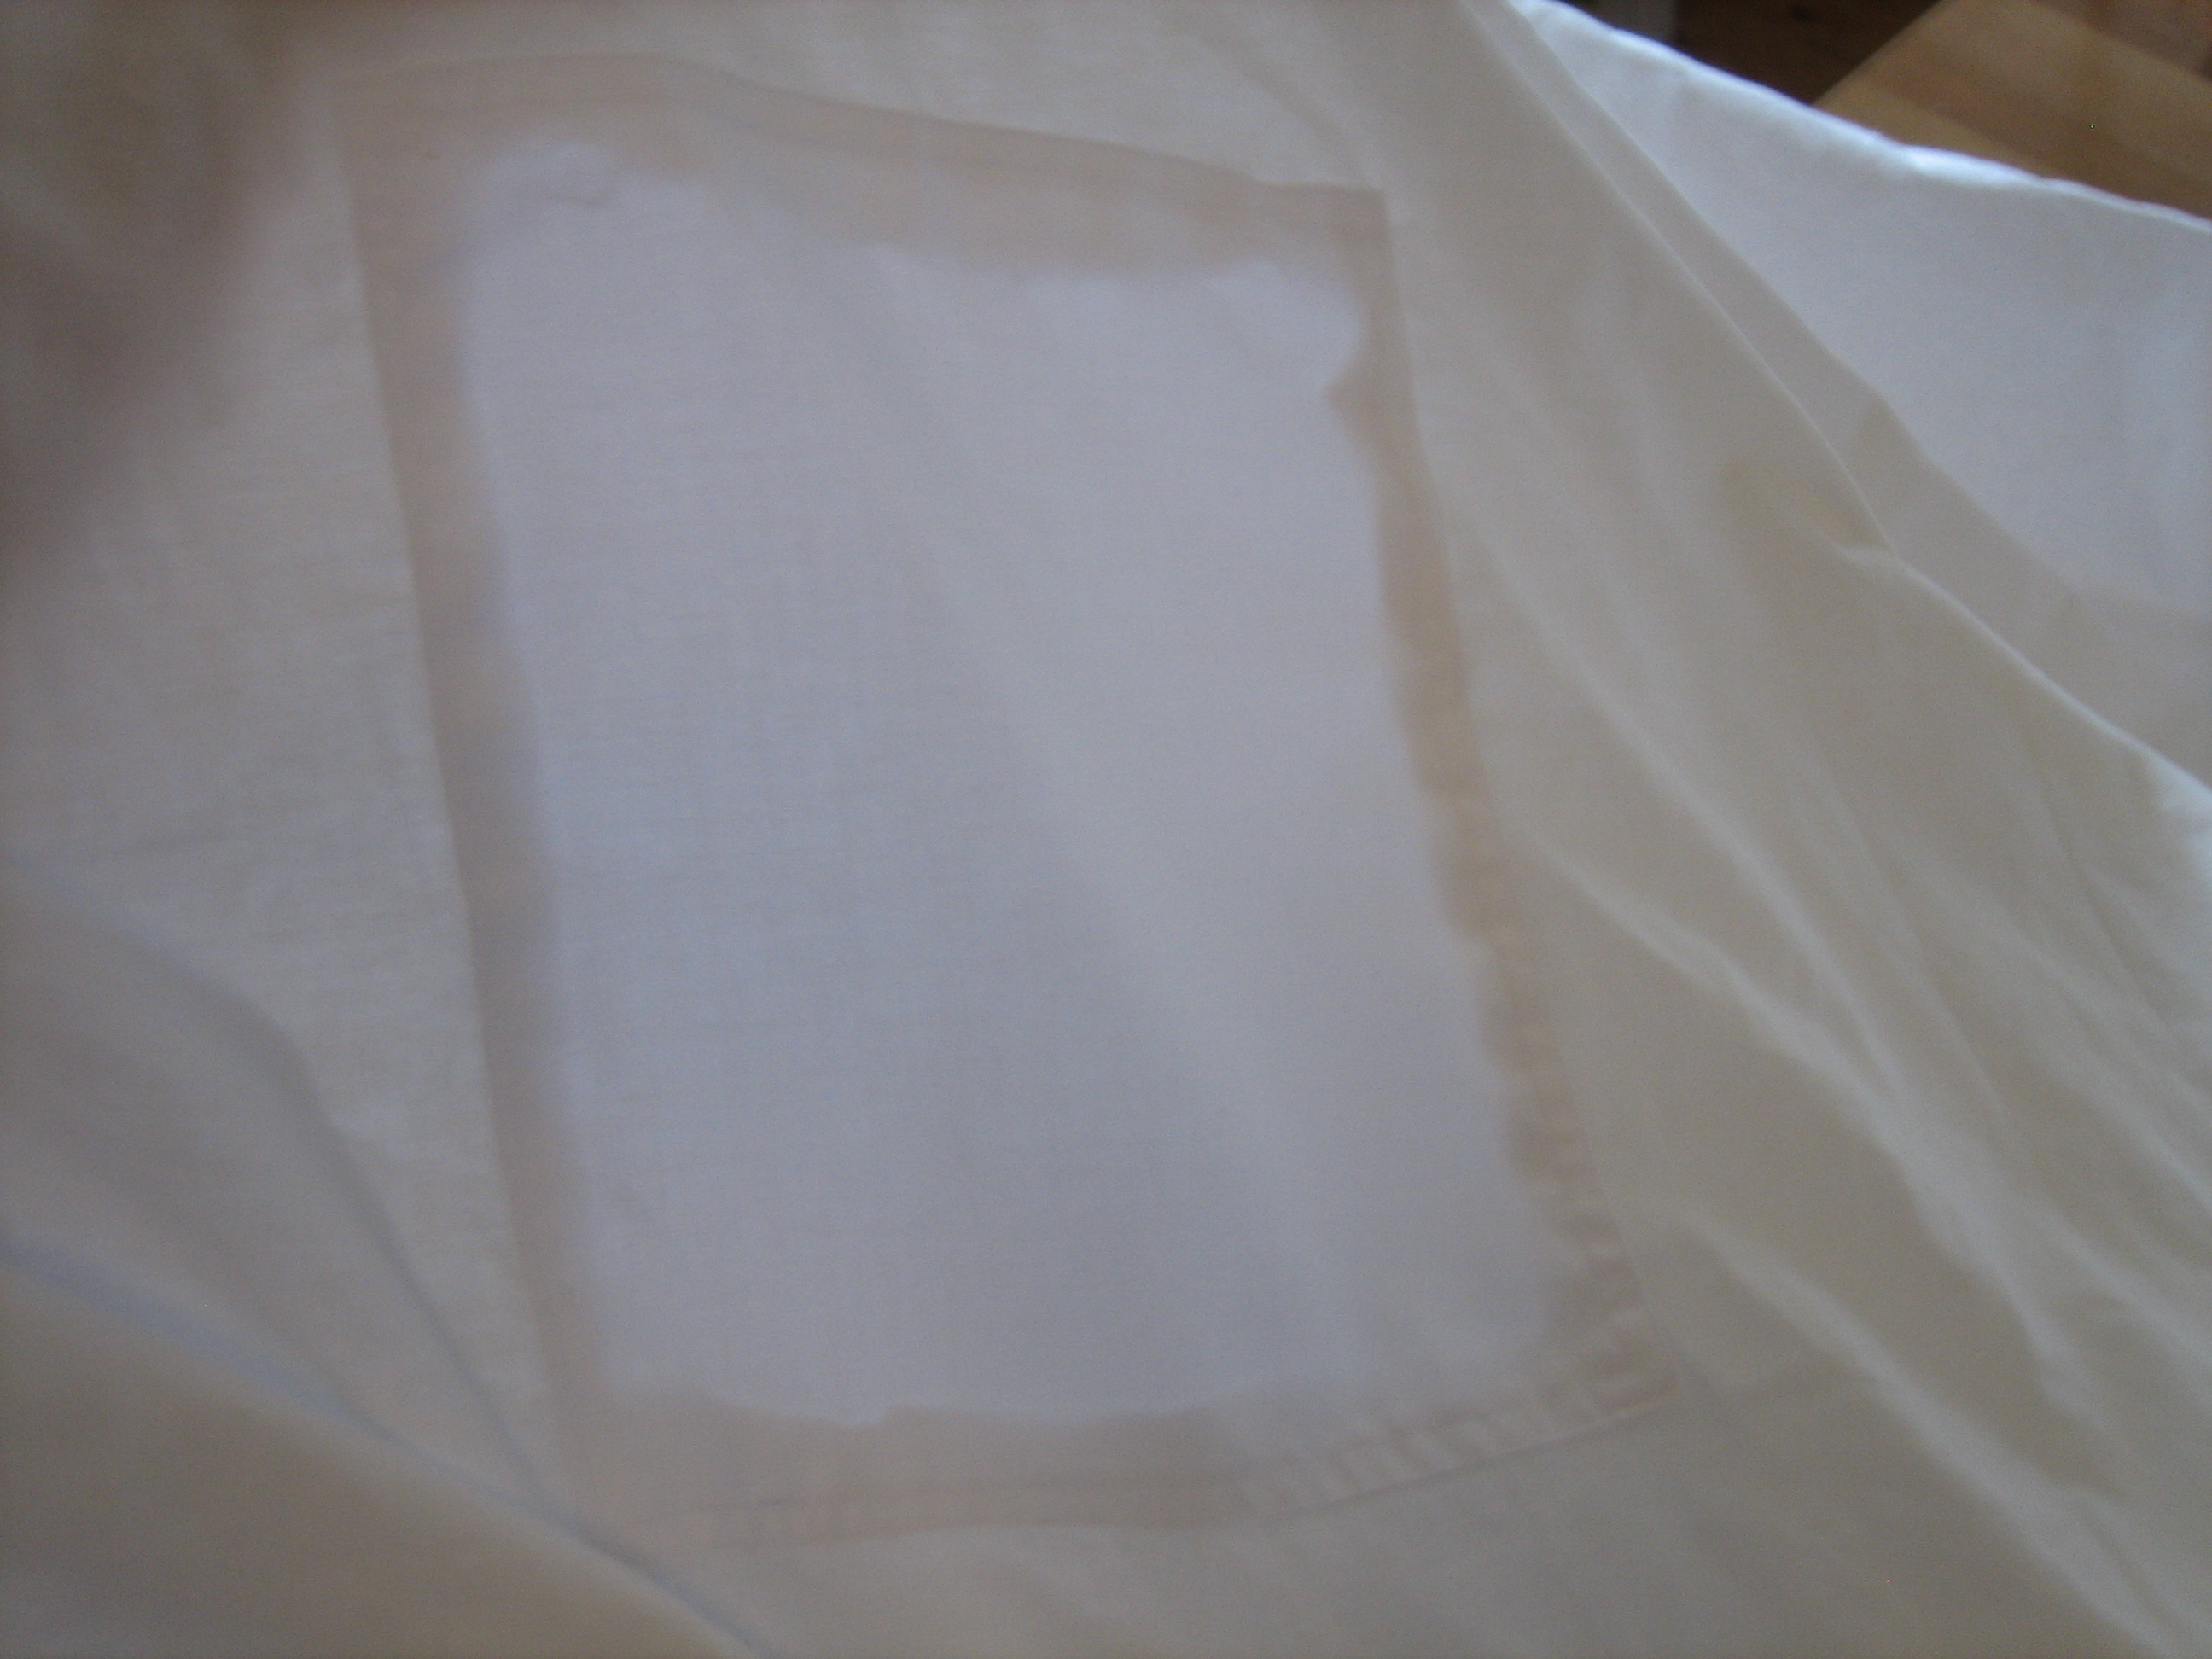
4. Now you need to iron the hem into your patch, first fold in the ends by half an inch and press firmly, with a hot iron and steam (if needed) then do the same with the sides ensuring your corners are neat (you can trim them if you like,I don't bother)
5. put your patch right way up on the right side of your sheet (so all the frayed edges will be on the under side) and iron together firmly, with a hot iron and steam - if you are working on a carpet, be extra careful... put down a towel under neath or something.
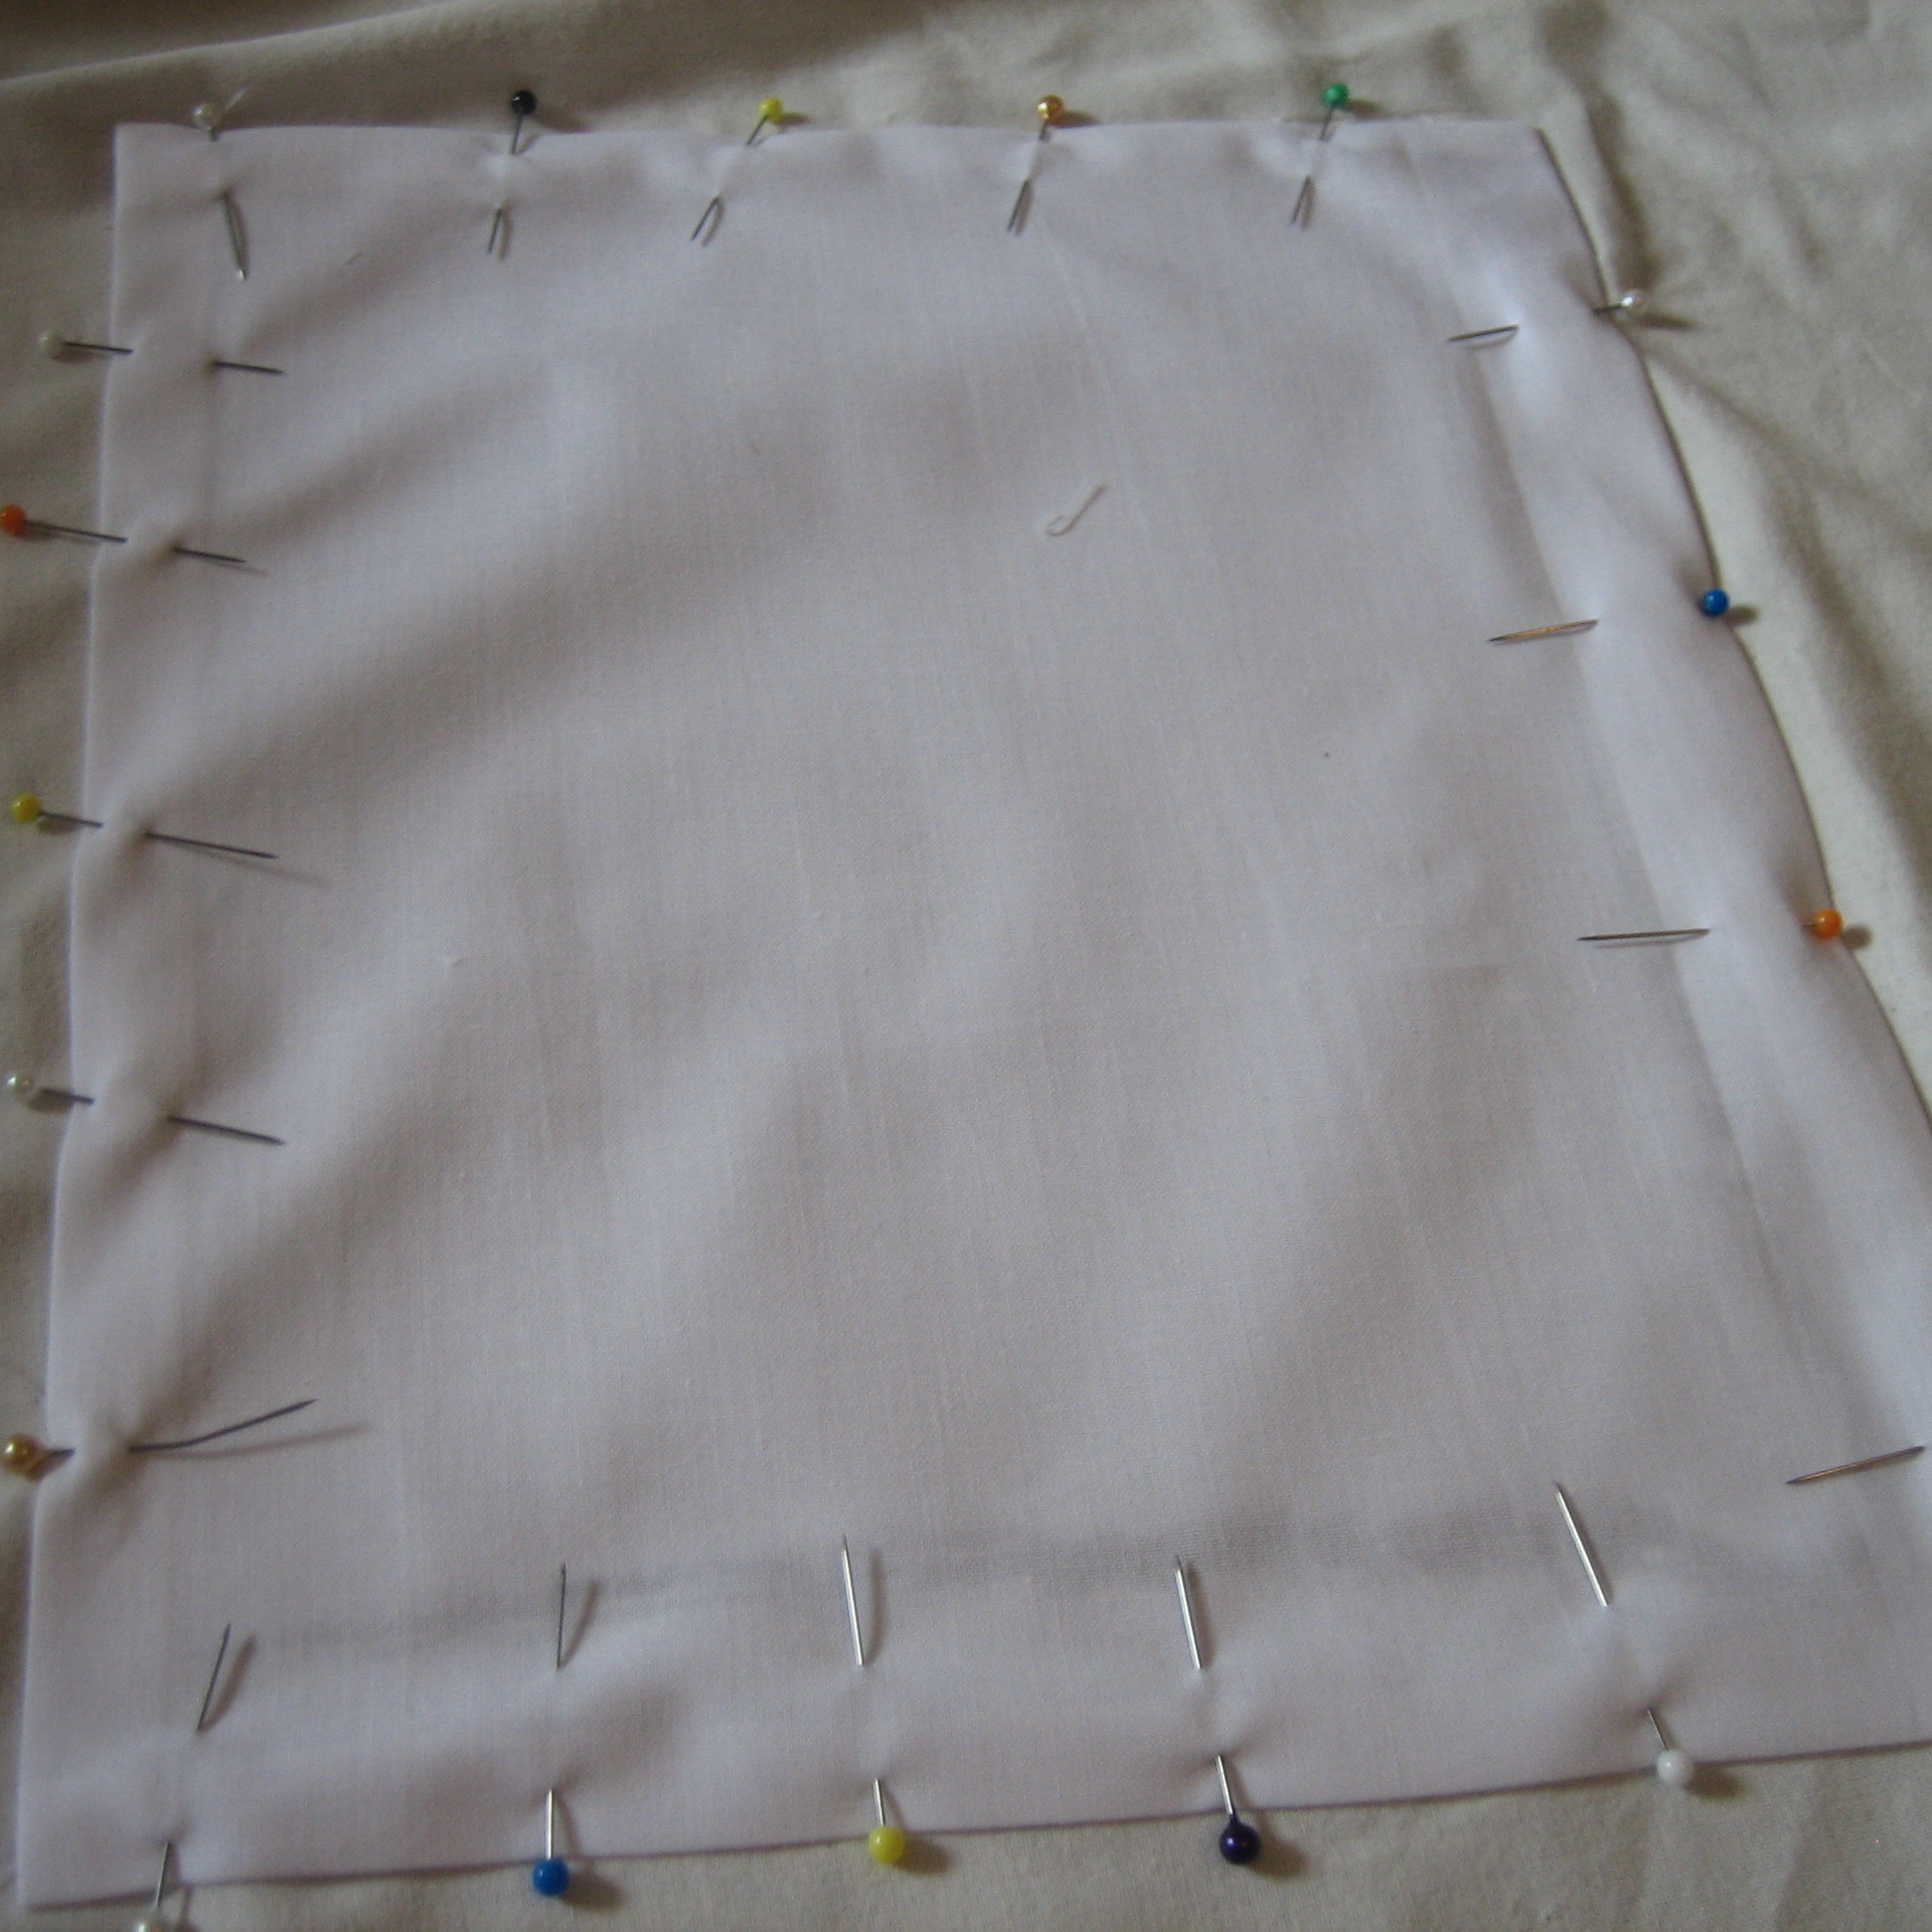
6. Pin carefully together (ironing the fabrics together helps them cling just enough to make this stage a little easier) Your pins should be running perpendicular to the seam (as in the photo)
 [/caption]
7. You are ready to begin sewing. I am not one to attempt such things by hand, but if you are confident enough and have a spare 4 hours.... by all means do so. Start, using a running stitch of medium length, around a third of an inch away from the outer edge... continue all round the patch and finish off, cut all loose threads.
[/caption]
8. Now your finishing stitch. Your original stitching will hold it all in place now so you can remove all the pins. This row you want right up at the edge of the patch, barely a mm in. This will achieve a really neat and tight edge.
9. Once you have stitched right round, flip your sheet over and remove the excess fabric from the torn area, cut it carefully about half an inch from the edge.
10. Well done you now have a sheet without a hole in it.
-------------------------
Please let me know if you follow the instructions and let me see photos :) and tell me if I missed anything out so I can update the post.
Thanks for reading ;o)

No comments :
Post a Comment
I love getting your comments, they really make my day! I try to respond when I can.
I moderate all comments to cut out the stinky spam. So please be patient if it hasn't popped up immediately.
If you ask a question remember to check back for an answer later.
Thank-you, you wonderful peeps!